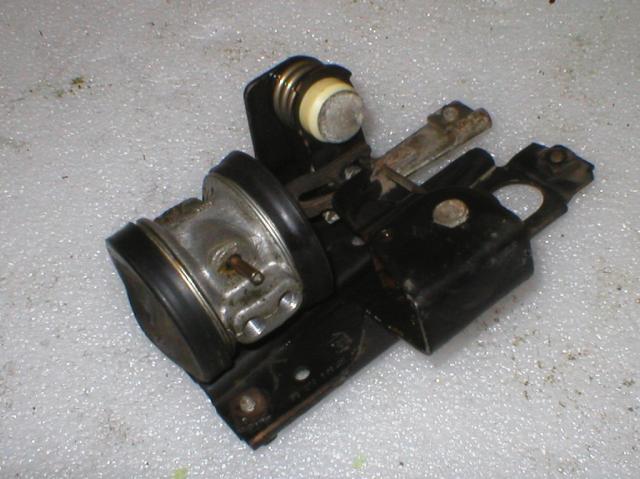
Xantia Height Corrector Overhaul: Page 1

The hydraulic part of the hieght corrector, in contrast to the mechanical parts of it is a normally very trouble-free component. They rarely leak but can over time become lazy and very slow to respond. They can become so lazy that they stop responding to small height changes and with moderate changes in height they can take an age to correct. It's time then to overhaul them and clean them of accumulated dirt that will have gathered in them. This dirt tends to block the small calibrated hole in the damper. Normally, if the height corrector was not leaking before removal, there is no need to replace the rubber seals. With care they can be re-used.
-
The first job is to give the height corrector a thorough clean. Dirt in a hydraulic component is a big enemy and the whole job should be carried out in clean conditions. Dirt is most easily removed using white spirit or brake cleaner and then drying with compressed air.
-
Remove the outer dust caps, the just peel off. Some very late correctors have a rigid plastic dust cap on the blind end. prise it off..
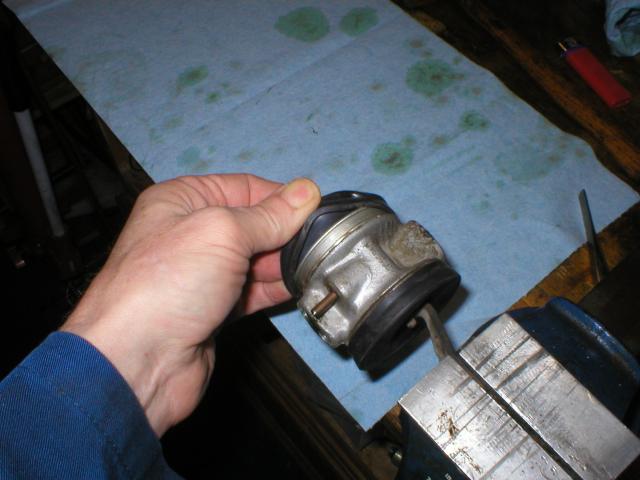
Removing the dust caps
-
Before proceeding, note very carefully the orientation of the extension lever in relation to the valve body. Then very gently prise off the end rings securing the diaphragms using a small screwdriver working around the ring as shown in the picture. be very careful not to damage the rings as they are delicate and no longer available as replacemnt parts.
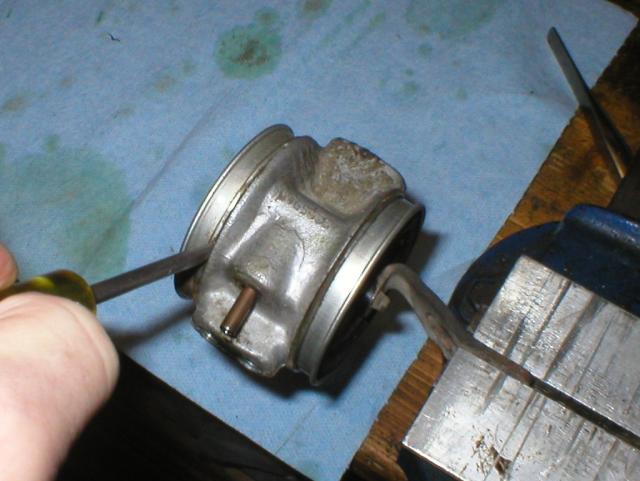
Prising off the end rings
-
Be very careful too when prising off the rings not to damage the rubber of the diaphragm underneath.
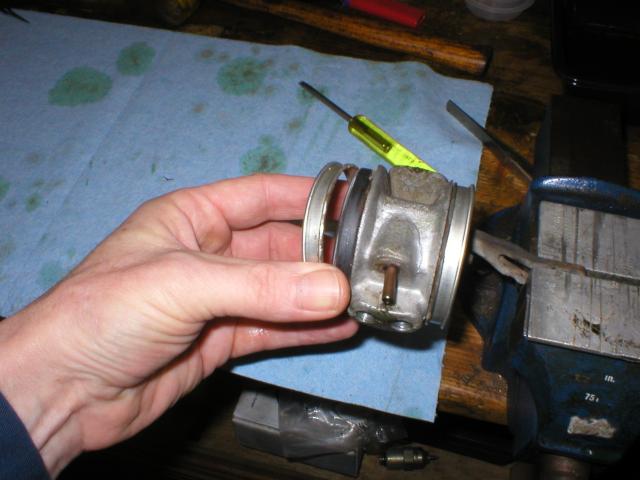
A ring prised off showing the diaphragm rubber
-
Place the corrector vertically in the vice and undo the 8mm nut in the centre of the diaphragm.
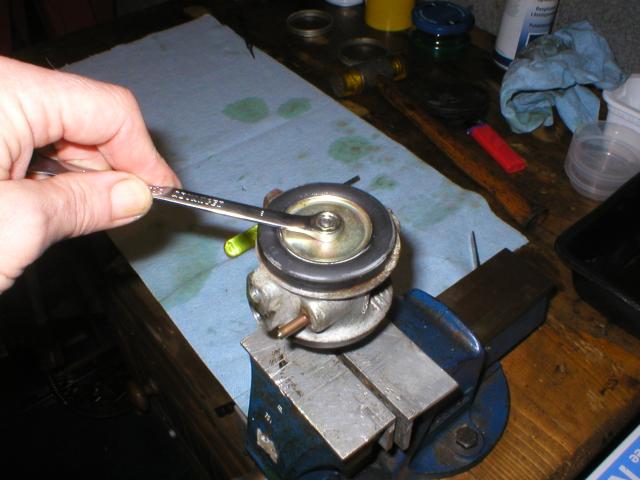
Loosening the diaphragm nut
-
Carefully lift and remove the top plate from the diaphragm...
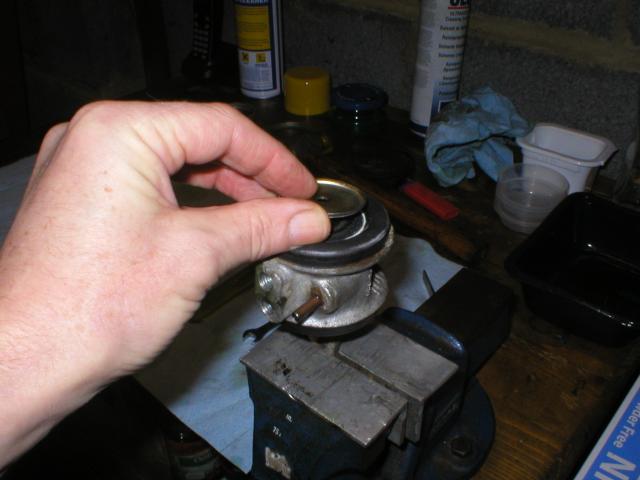
Removing the Top Plate
-
Followed by the diaphragm itself after peeling its edges from the valve body..
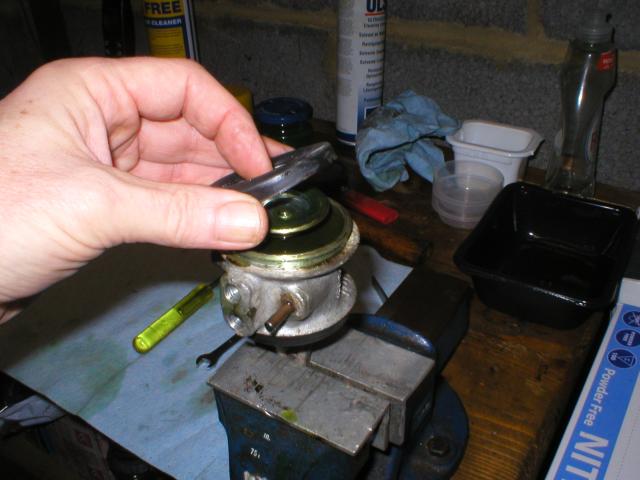
Lifting the diaphragm
-
Lift off the lower plate...
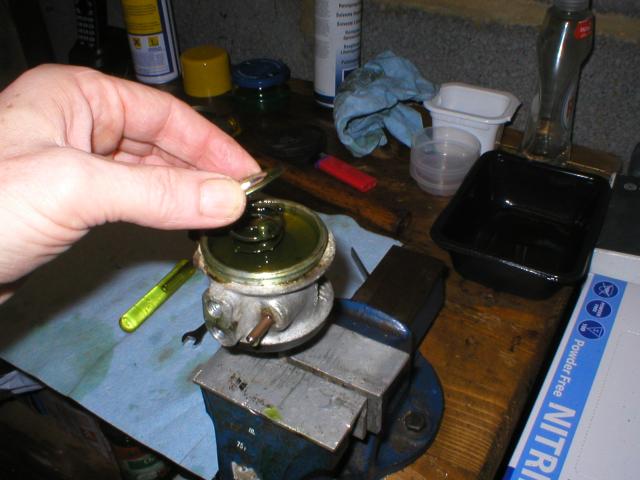
Removing the Lower Plate
-
Followed by the spring. Note the orientation of the spring. After removing the spring it is a good idea to drain the LHM that is still present in the valve body..

The spring
-
Carefully ease away the circlip...
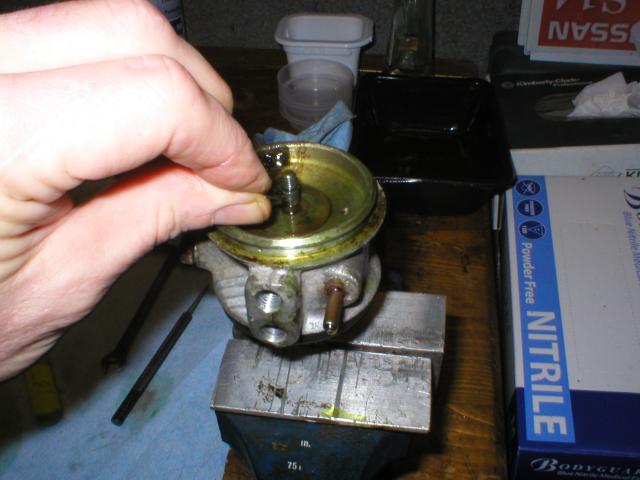
Removing circlip
-
Followed by the baffle..
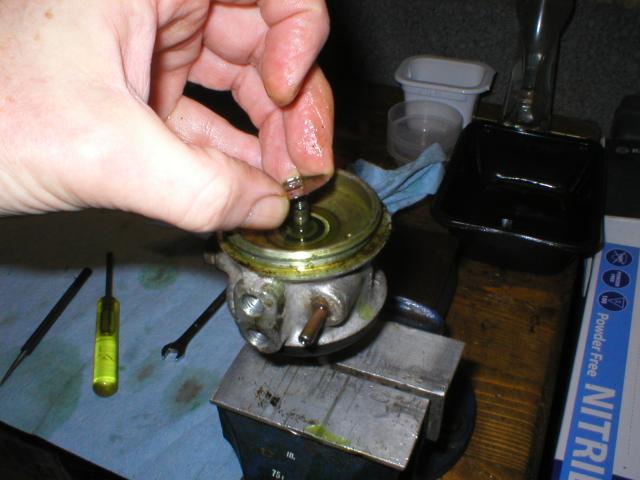
Removing the baffle
-
Tilt the body in the vice, peel the rear diaphragm away from the valve body and gently pull the valve body off leaving the shuttle valve in the vice attached to the extension lever...
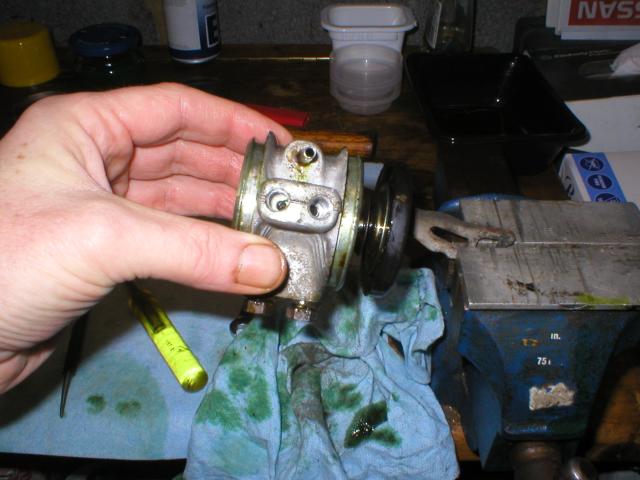
Removing the valve body from the shuttle valve
-
Unless the diaphragms need to be replaced, this is as far as you need to go with dismantling, the shuttler may remain attached to the extension lever as an assembly with the diaphragm, plates, spring and washer..
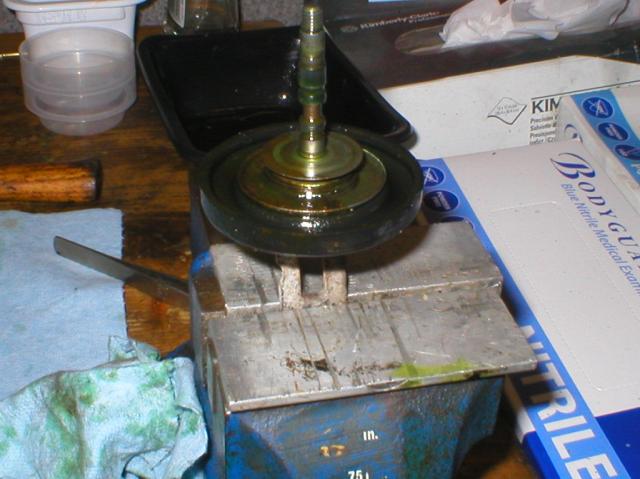
The Shuttle Valve
Removing the height corrector is relatively easy at the rear. Undo the hydraulic unions, disconnect the dog-bone and and manual height control rod and after removing the two 11mm bolts that secure the valve to the cradle, it can be worked out. At the front, the whole mechanism must be removed first before the valve can be removed from the cradle. This is fiddly. beware that particularly at the rear the hydraulic unions may be very tight and seized into the valve through the action of dissimilar metal corrosion. In extreme cases, the pipes need to be cut and new pipe lengths fitted. In any case, a excellent quality 8mm hex flare nut spanner will be needed to undo the unions.
