Xantia Height Corrector Overhaul: Page 2

For this job a good solvent is required, such as brake cleaner or petrol and access to an air line, not the flying kind but the kind that can blow compressed air!
-
Once the valve body is disassembled it is likely that much dirt and debris will be visible in the end chambers as shown in the picture below. This is a bad case!
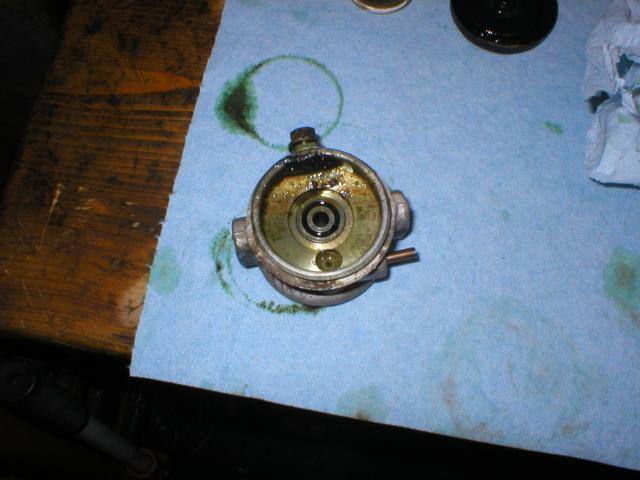
Dirt and debris in the end chambers. This is an example of a badly contaminated one!
-
Thoroughly clean out all the accumulated dirt and debris and wash the chambers in solvent or brake cleaner. In the picture below the pointer is indicating the graduated hole in nylon plug in the end of the damper chamber. This gets blocked by the dirt and debris making the corrector lazy and insensitive.
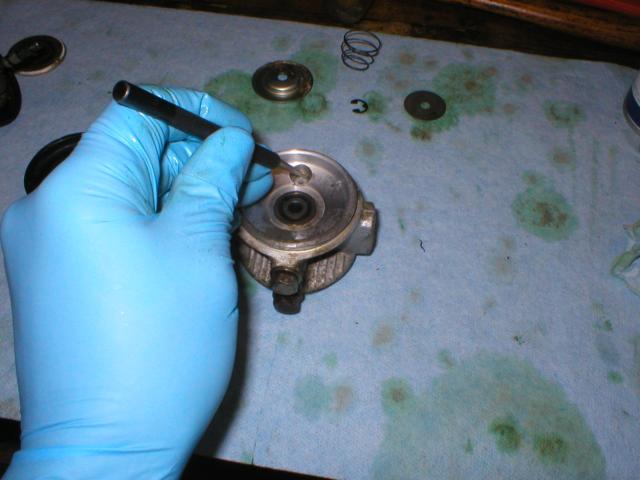
The Nylon plug and graduated hole in the damper chamber
-
This view of the other end chamber shows the damaper exit hole.
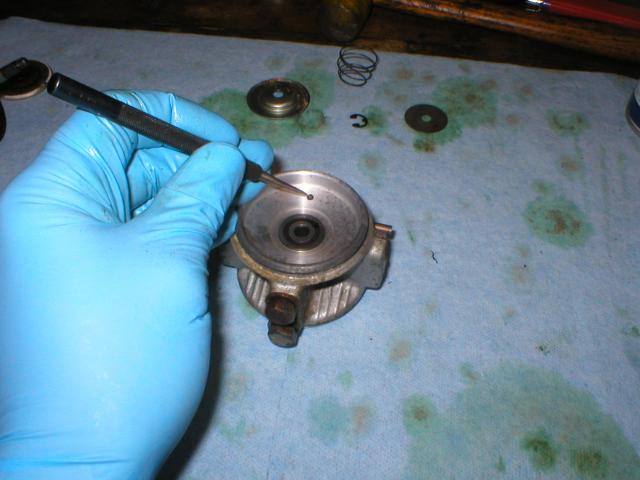
The damper exit hole
-
The nylon plug in the end of the damper chamber cannot be removed. To clean the damper chamber fill it with solvent, conveniently from an aerosol can with an extension spout and then blow through the damaper via the exit hole and leakage return spigot.
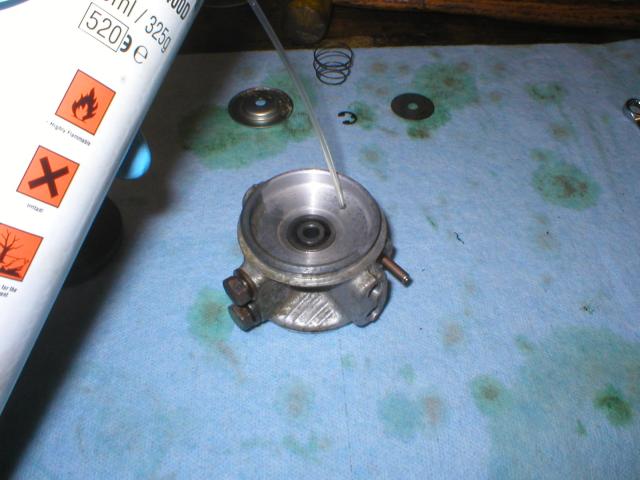
Spraying solvent into the damper hole
-
Also spray solvent up the leakage return spigot..
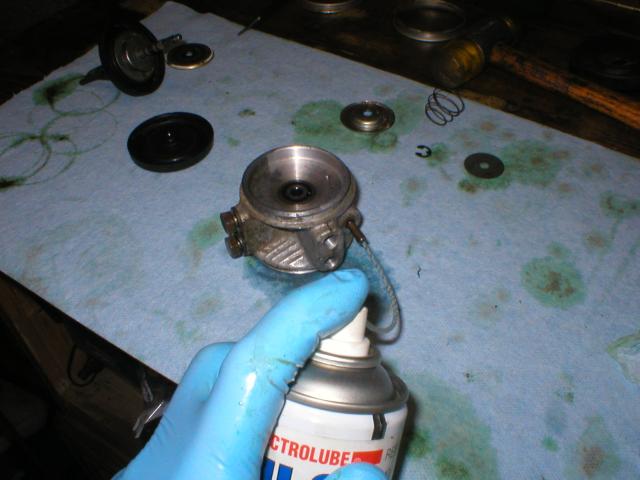
Spraying solvent into the leakage return spigot
-
Blow all the solvent out of the damper chamber using an air line. Repeat until the injected solvent comes out clean. Three or four sparys follwed by three or four blows will usually suffice. Before reassembly, wash the diaphragms and shuttle valve assembly in solvent and blow dry, ensuring every trace of dirt is removed. Finally, carefully remove any corrosion from the valve body diaphragm sealing faces. A small screwdriver used as a scraper is good for this job but take care not to damage the sealing surfaces.
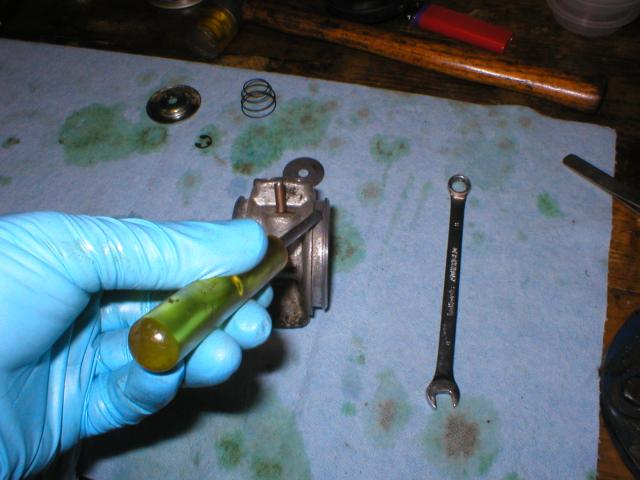
Cleaning the Diaphragm Sealing Surfaces
-
The valve assembly is now ready for reassembly..

