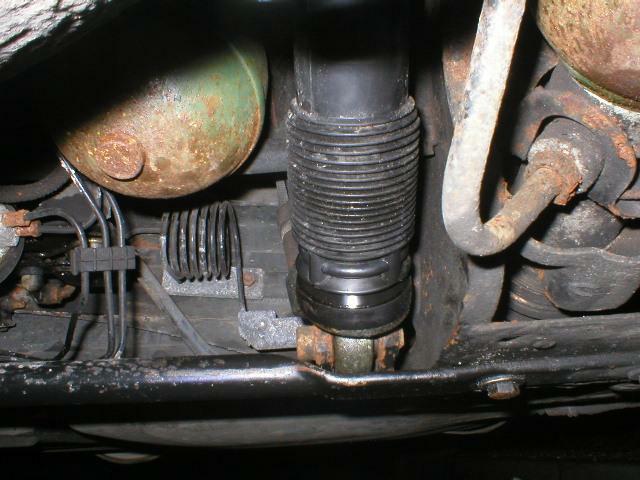
Xantia Activa Rear Ram Replacement: Page 1

This is quite a tricky job and it is made even more difficult because of restricted access to the ram hydraulic unions. Allow at least a day if this is the first time to do the job.
-
The first job is to jack and firmly support the rear of the car. Then set the suspension on low and depressurise the hydraulics in the normal way. PLEASE ENSURE THE CAR IS ADEQUATELY SUPPORTED AS YOU WILL BE SPENDING TIME UNDERNEATH IT ON YOUR BACK.
-
Remove the spare wheel cradle..
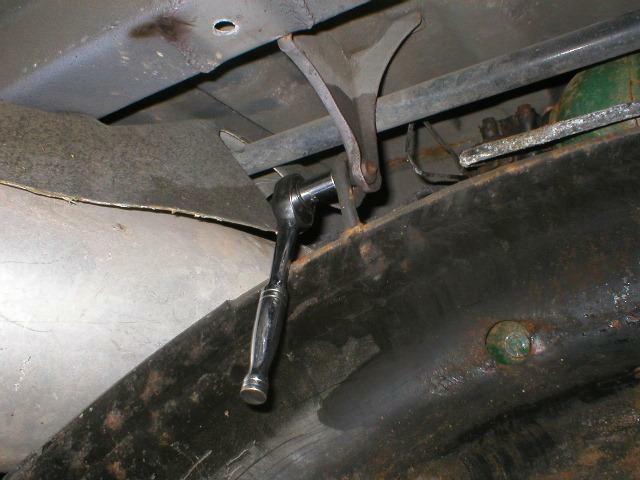
The Spare Wheel Cradle
-
followed by the subframe tie bar..
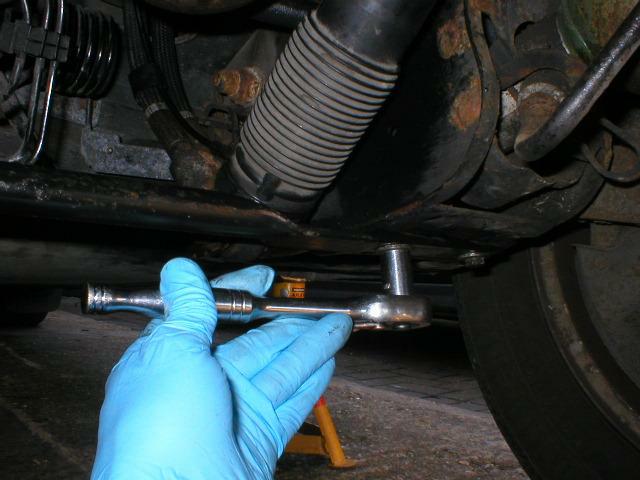
Subframe Tie Bar Fixings
-
Depressurise the Activa System. This is NOT depressurised when the main hydraulics are depressurised.
-
Locate the bleed nipple on the Activa Sphere Block and fit an 8mm Ring Spanner to it. Then attach a length of washer hose to it and run it to a container. Crack the nipple carefully. A LOT of LHM will flow under considerable pressure. If you do not use a length of tube, you will cover the rear of the car in LHM as I did first time!
-
Leave the bleed nipple open.
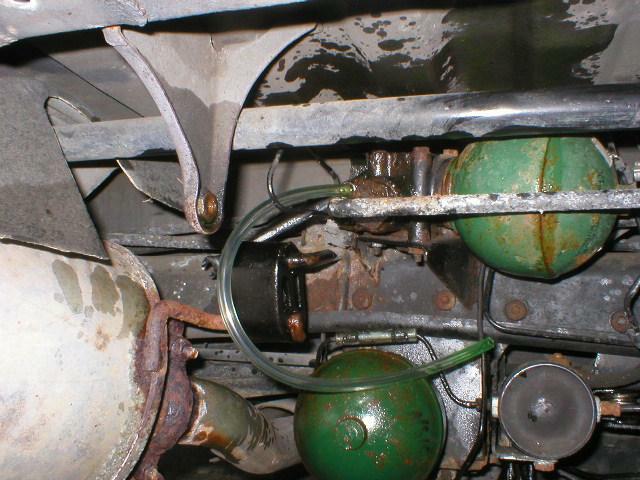
Activa Block Bleed Nipple
-
Loosen fully to the ends of their threads the three 10mm nuts on the front of the hydractive sphere block so that the ram hydraulic pipe support clamp plate is free to move..
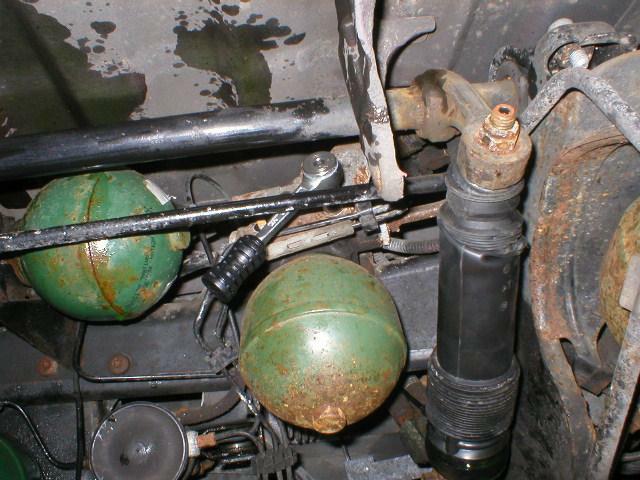
Ram Hydraulic Clamp Plate Fixings
-
Loosen the ram top nut to the end of it's thread but don't fully remove yet. If necessary, counter-hold the threaded part with an Allen Key whilst loosening the nut..
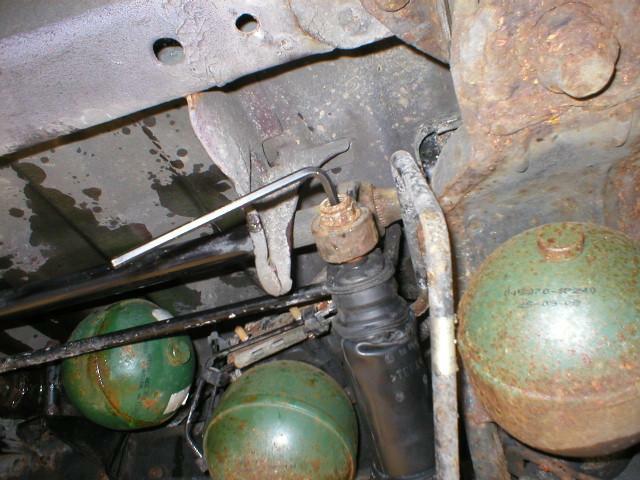
The Ram Top Nut
-
Loosen the ram bottom eye bolt but don't fully remove just yet..
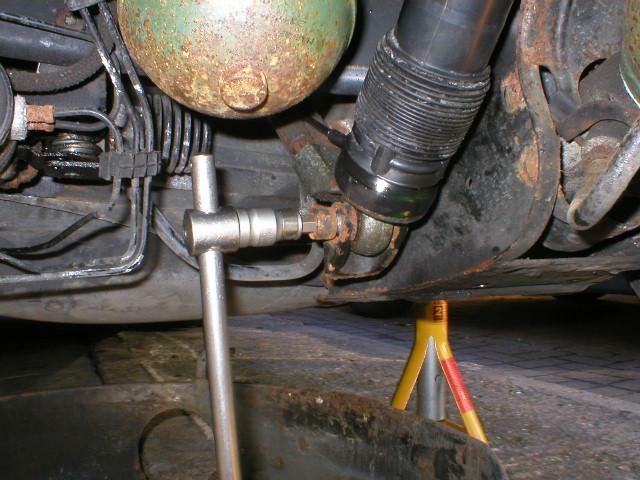
Ram Eye Bolt
Ensure before starting that you have a 17mm flare nut spanner, a 21mm open ender, an 8mm ring spanner and a length of washer hose. The reason for the last item will become clear soon enough!
