Xantia Activa Rear Ram Replacement: Page 2

This is quite a tricky job and it is made even more difficult because of restricted access to the ram hydraulic unions. We now get to the tricky parts!
-
Place a jack under the offside wheel and gently jack up or down until there is no tension left in the ram and its mountings
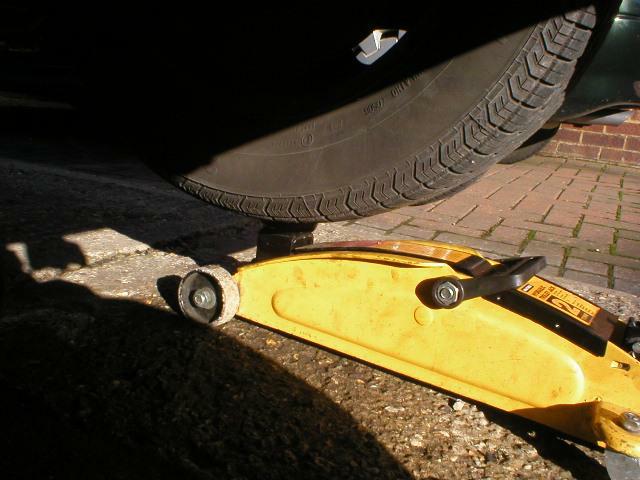
Using a jack to lift the rear wheel to relieve tension in the ram
-
Once the tension is relieved, remove the top nut and bottom bolt and tease the ram out until it is hanging free. It is best to slip the top out first and then pull the lower mount from its yoke.
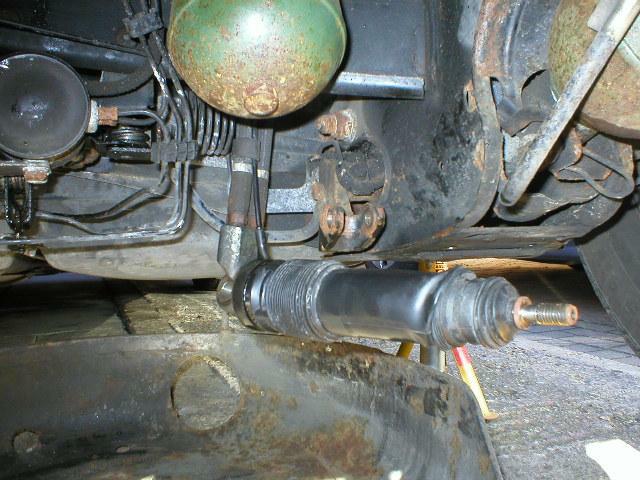
The Ram hanging free of its mounts
-
Using a 17mm flare nut spanner (or crowfoot) and counterholding the pipe union with a 21mm open ender, looosen the union nut on the steel pipe going to the active sphere block. DO NOT use a 17mm open ender on this union nut. It will be tight. Undo the union nut completely.
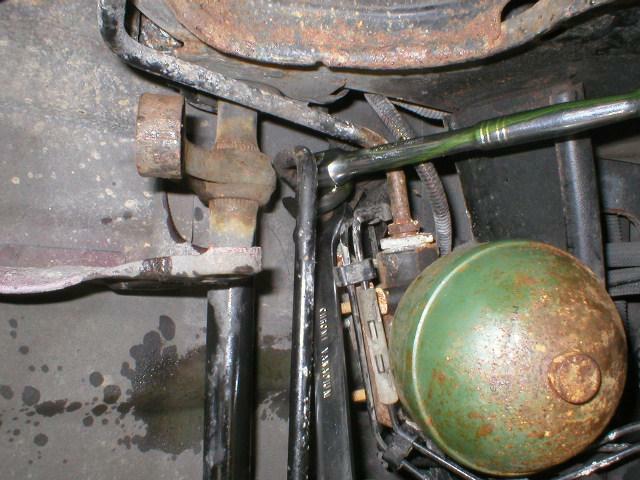
Undoing the LH ram pipe union
-
Undo the 17mm union nut on the other end of the steel pipe at the Activa Sphere Block and remove the steel pipe completely. This is essential to give room to undo the RH ram supply pipe union.
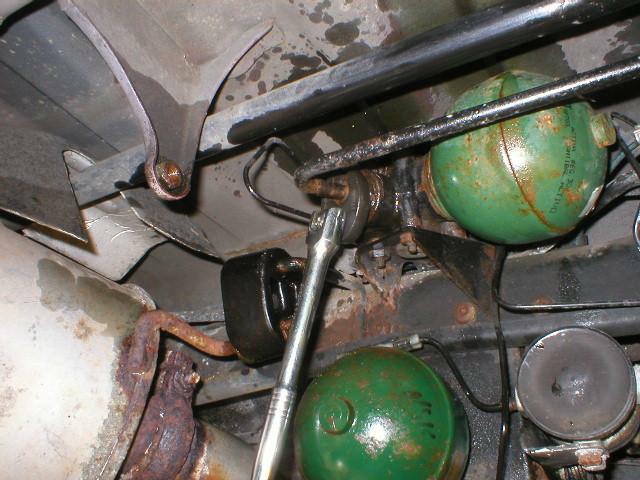
Undoing the Sphere Block Union Nut
-
Undo the RH ram pipe hydraulic union using the same process as for the LH union.
-
Loosen and remove the nut holding the ram pipe clamp plate and remove. At this point support the hanging ram on a box. The pipes will now be free.
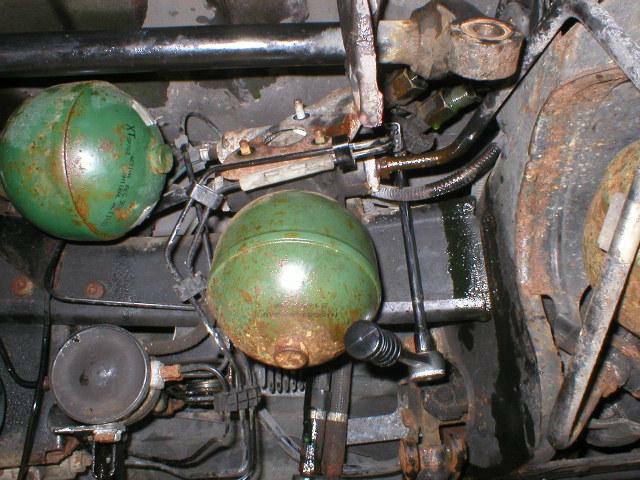
Undoing the pipe clamp plate nut
-
Carefully disconnect the leakoff pipe from the ram and gently tease it out of the rubber bands on the LH feed pipes.
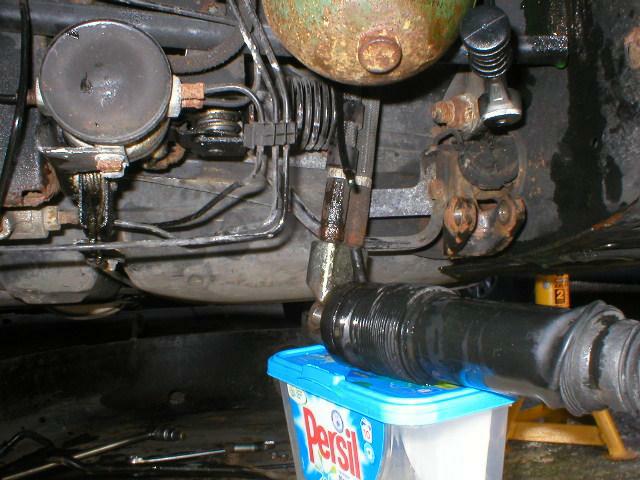
Disconnecting the Ram Leakoff Pipe
-
The ram and its two hydraulic pipes can now be gently teased out. Take care to note the routing and be careful not to snag the leakoff pipe, the other end of which is pretty much inaccessible...

