Xantia Activa Leaky Ram Repairs: Page 3

-
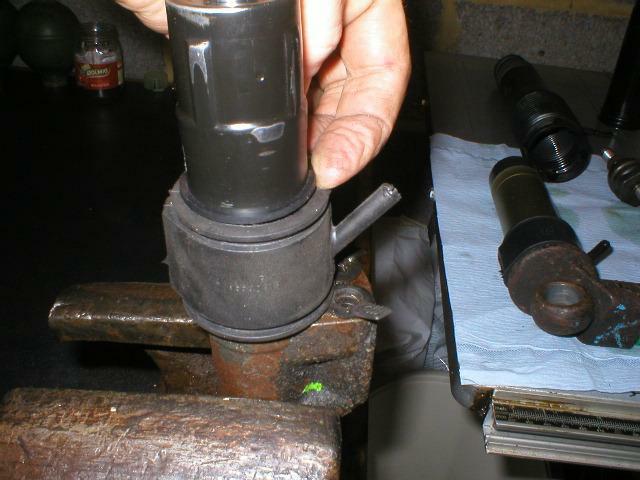
Slide on the XM gaiter, lubricating it as necessary with a little LHM. Seat the lower edge over the fresh sealing surface prepared earlier. Carefully glue together two sphere seals using a little superglue. Position the gaiter so that the outlet pipe faces upward and is positioned as shown in the picture below. Pplace the sphere seals as shown. The spherwe seals are necessary to make up the diamater difference between the black sleeve and the gaiter.

Placing and Positioning the new Gaiter. -
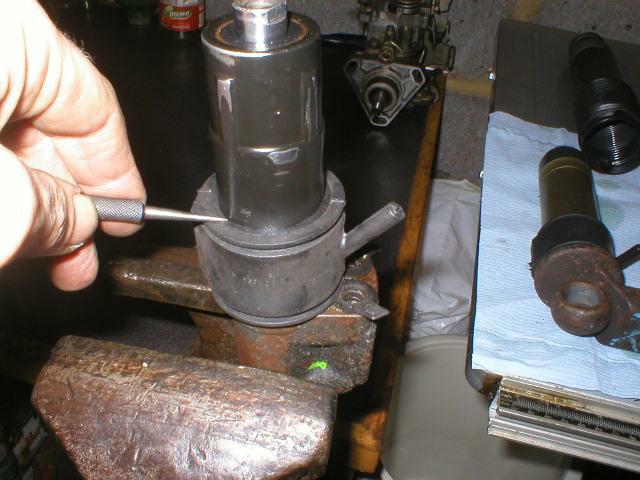
Carefully ease the sphere seals just below the edge of the gaiter

Final Sphere Seal Adjustment -
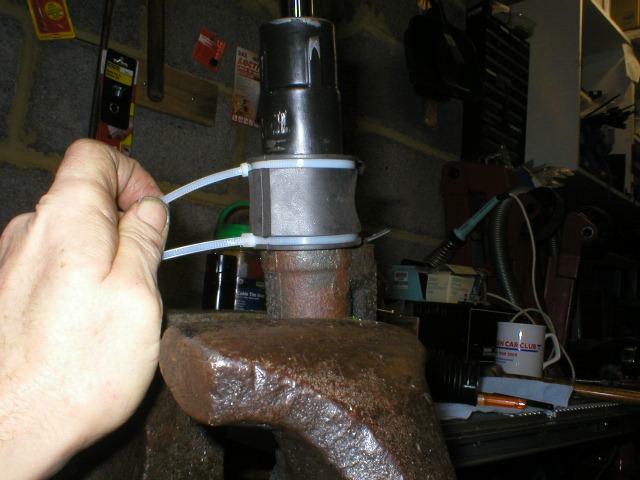
Fit thin cable ties as shown. Don't pull them too tightly and ensure they hold the gaiter securely to the lower sealing surface and the sphere seals. The cable ties shown in the picture are really a bit too thick; thinner ones are better.

Fitting the Cable Ties to the Gaiter. -
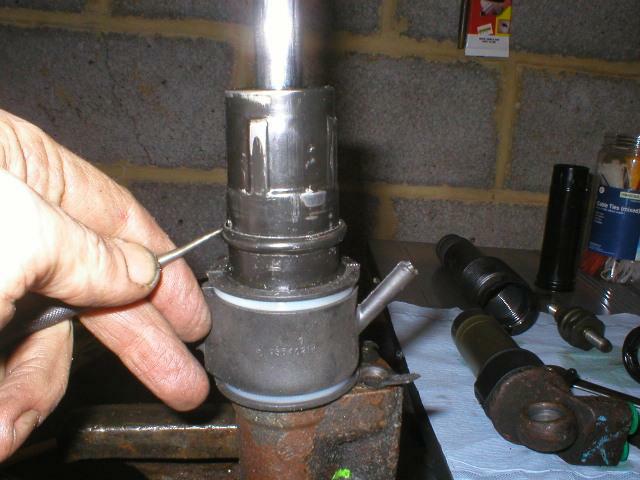
Take the "olive" trimmed from the black sleeve earlier and carefully open it out using a file so that it is a tight fit over the black sleeve. This "olive" acts as a fastening ring for the concertina gaiter.

Placing the Concertina Gaiter Ring. -
Fianlly position the ring so that it sits about 5mm above the top edge of the XM gaiter. Crimp it a little to ensure it is tightly fitted to the black sleeve and will not move as the concertina gaiter moves up and down.
-
Refit the concertina gaiter and refit the top balljoint.
-
Replace the ram on the car.
The next pages describe how to repair the rear ram...

