

Bosch Injection Pump Armour Removal

Introduction
The removal of the armour is very difficult and at every stage you must be careful not to cause damage. You MUST seal every pump orifice to guard against ingress of swarf and other matter that may be produced in the armour removal.
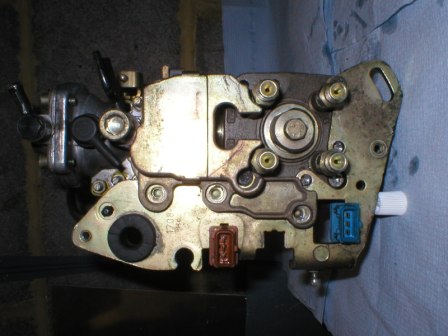
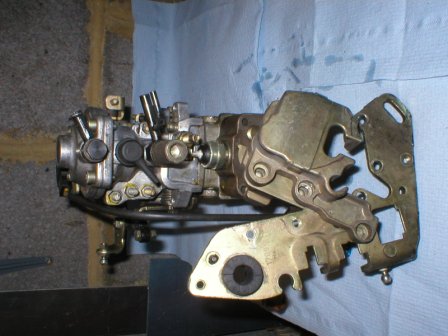
The armour, shown below is held on to the pump body by a mixture of Torx bolts, which are easy to remove but will be found to be very tight and a number of tamper-proof bolts These are not so easy to remove.
All but one can be drilled out with care. One though, deeply recessed and adjacent to one of the HP outlet unions is made of hardened steel and will not drill easily. It will blunt the drill. One brutal method that works is to use a masonry drill in a powerful hammer drill running backwards. It acts like an impact (rattle) gun and will unscrew the bolt. All bolts drilled or impacted out will need to be replaced with normal bolts. Note that the hardened steel one is one of four that retain the fuel distributor head and must be replaced with a bolt of the same material. A scrap yard should provide.
Once the bolts are out, the armour will slide off, exposing the black electronic module attached to the stop solenoid itself. This module is the other end of the coded keypad.
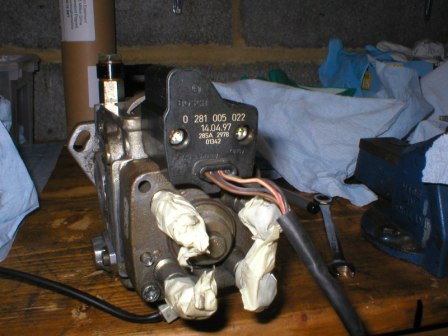
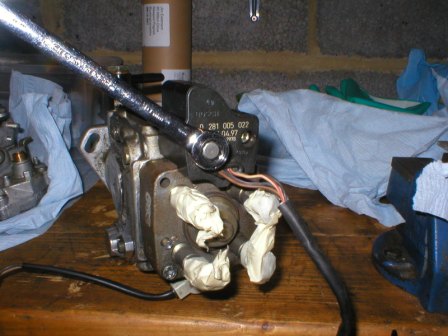
The module is removed by finding a Torx bit that will force into the head of the two tamper-proof bolts that secure it. They will not be too tight. Remove them and carefully lift the module off, taking car not to strain the single wire that goes from the module to the stop solenoid.
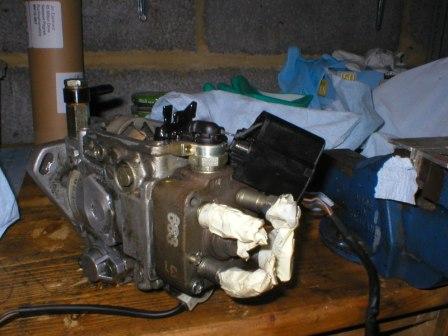
Note that the two picture were taken out of sequence, with the top of the pump already removed.
Page last updated 23 March 2008
Continues Next Page...