Xantia Activa Leaky Ram Repairs: Page 4

-
In general, the job of repairing the rear ram is very similar to the front ram repair as described earlier. The rear ram is easier as there is no need to prepare a fresh sealing surface, make up a diamater on the black sleeve using sphere seals nor create a new concertina gaiter securing ring. This guide will focus only on the differences between the repair methods needed for the rear ram. Do fully read the full procedure for repairing the front ram before reading on.
-
The Concertina gaiter is a lot harder to remove on a rear ram and it must be removed as the first operation. It is fitted very tightly around the top balljoint, both in the groove around the top and on the balljoint body proper. The risk of damaging the concertina gaiter is very high so go carefully. Firstly insert a thin smooth probe between the very top ring of the gaiter and the groove it sits in just below the ballhoint thread. carefully ease the gaiter over the groove. Once the gaiter is free of this groove, carefully pull the gaiter right off. The picture below shows the balljoint and the groove at the top. Be aware that the gaiter is very tight around the balljoint and a determined pull is needed!
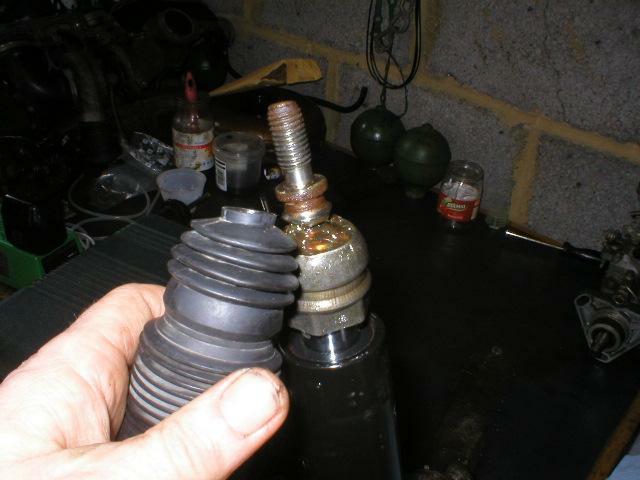
The Top Balljoint and Gaiter -
Remove the top balljoint following the procedure for the front ram top balljoint. A thin 19mm spanner will be needed to counterhold the piston and a 32mm spanner is needed for the balljoint body. It's tight!
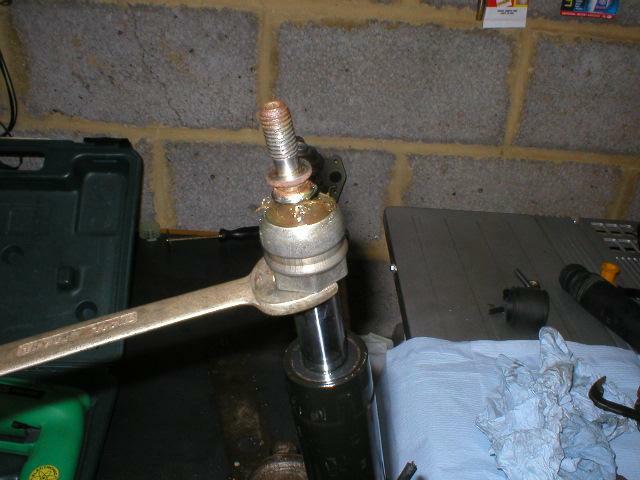
Undoing the Top Balljoint -
Pull off the black sleeve following the same procedure as for the front ram. Tape the top of the piston rod first to protect the oil seal.
-
The black sleeve will require trimming down in exactly the same way as the front ram. There is no need to retain the gaiter securing ring.
-
This is the sleeve fully prepared. Observe the warning about removing all swarf from the sleeve.
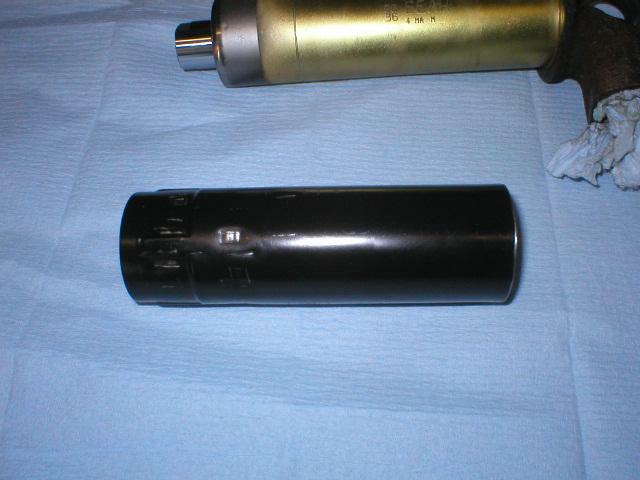
The Black Sleeve Trimmed and Ready for Refitting -
Refit the sleeve as for the front ram. Note that a larger mandrel is needed.
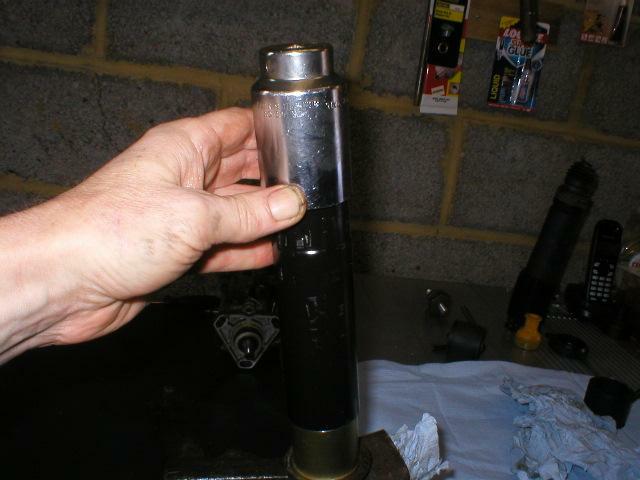
Refitting the Balck Sleeve -
Slide on the XM gaiter and position it as shown. Note that the lower edge sits above the lower mount and seals around the ram body. There is no need to make up any diamater on the black sleeve.
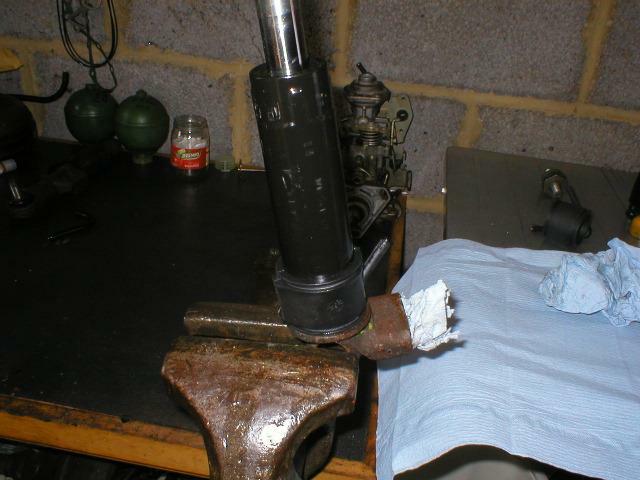
Fitting the New Gaiter -
Fit thin cable Ties to the gaiter as shown. Use two jointed togeter and position the tabs of the cable ties exactly 180 degrees apart.
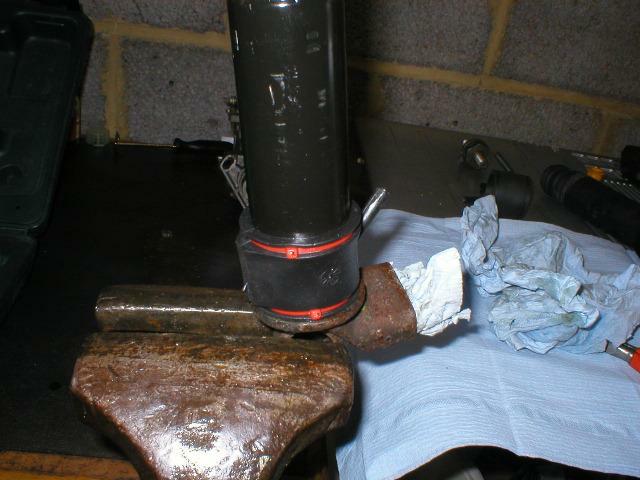
Fitting the New Gaiter Cable Ties -
Refit the top balljoint, greasing it if necessary with a dab of CV Joint grease. Refit the concertina gaiter and pull it down over the new leakage return collar. The tabs of the cable ties will slide up between the gaps in the gaiter and the gaiter ring proper will sit nicely snugly over the top of the collar
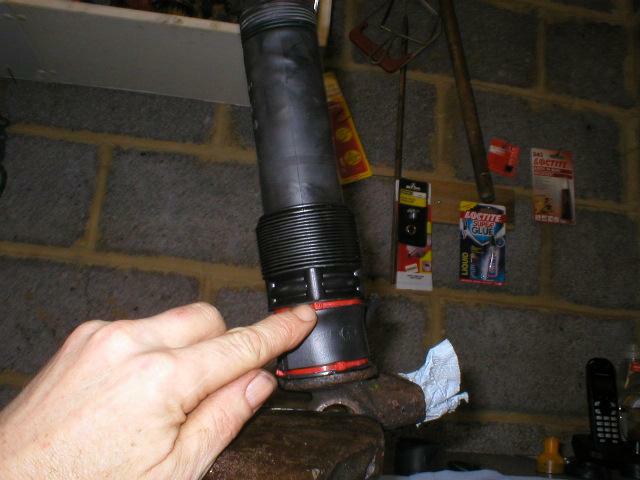
Fitting the Concertina Gaiter Now refit to the car after fitting a replacement ram bush if necessary.
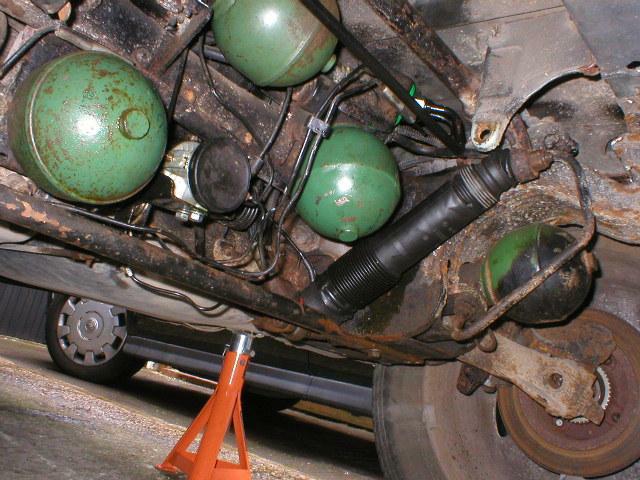
The Repaired Ram Reinstalled

